I am aging myself with the image above. Many may not be familiar with Snidely Whiplash, the archenemy of Dudley Do-Right on the Rocky and Bullwinkle cartoon show. You most likely had to grow up in the 60's to know about Snidely Whiplash!
Anyway, on to crafting....
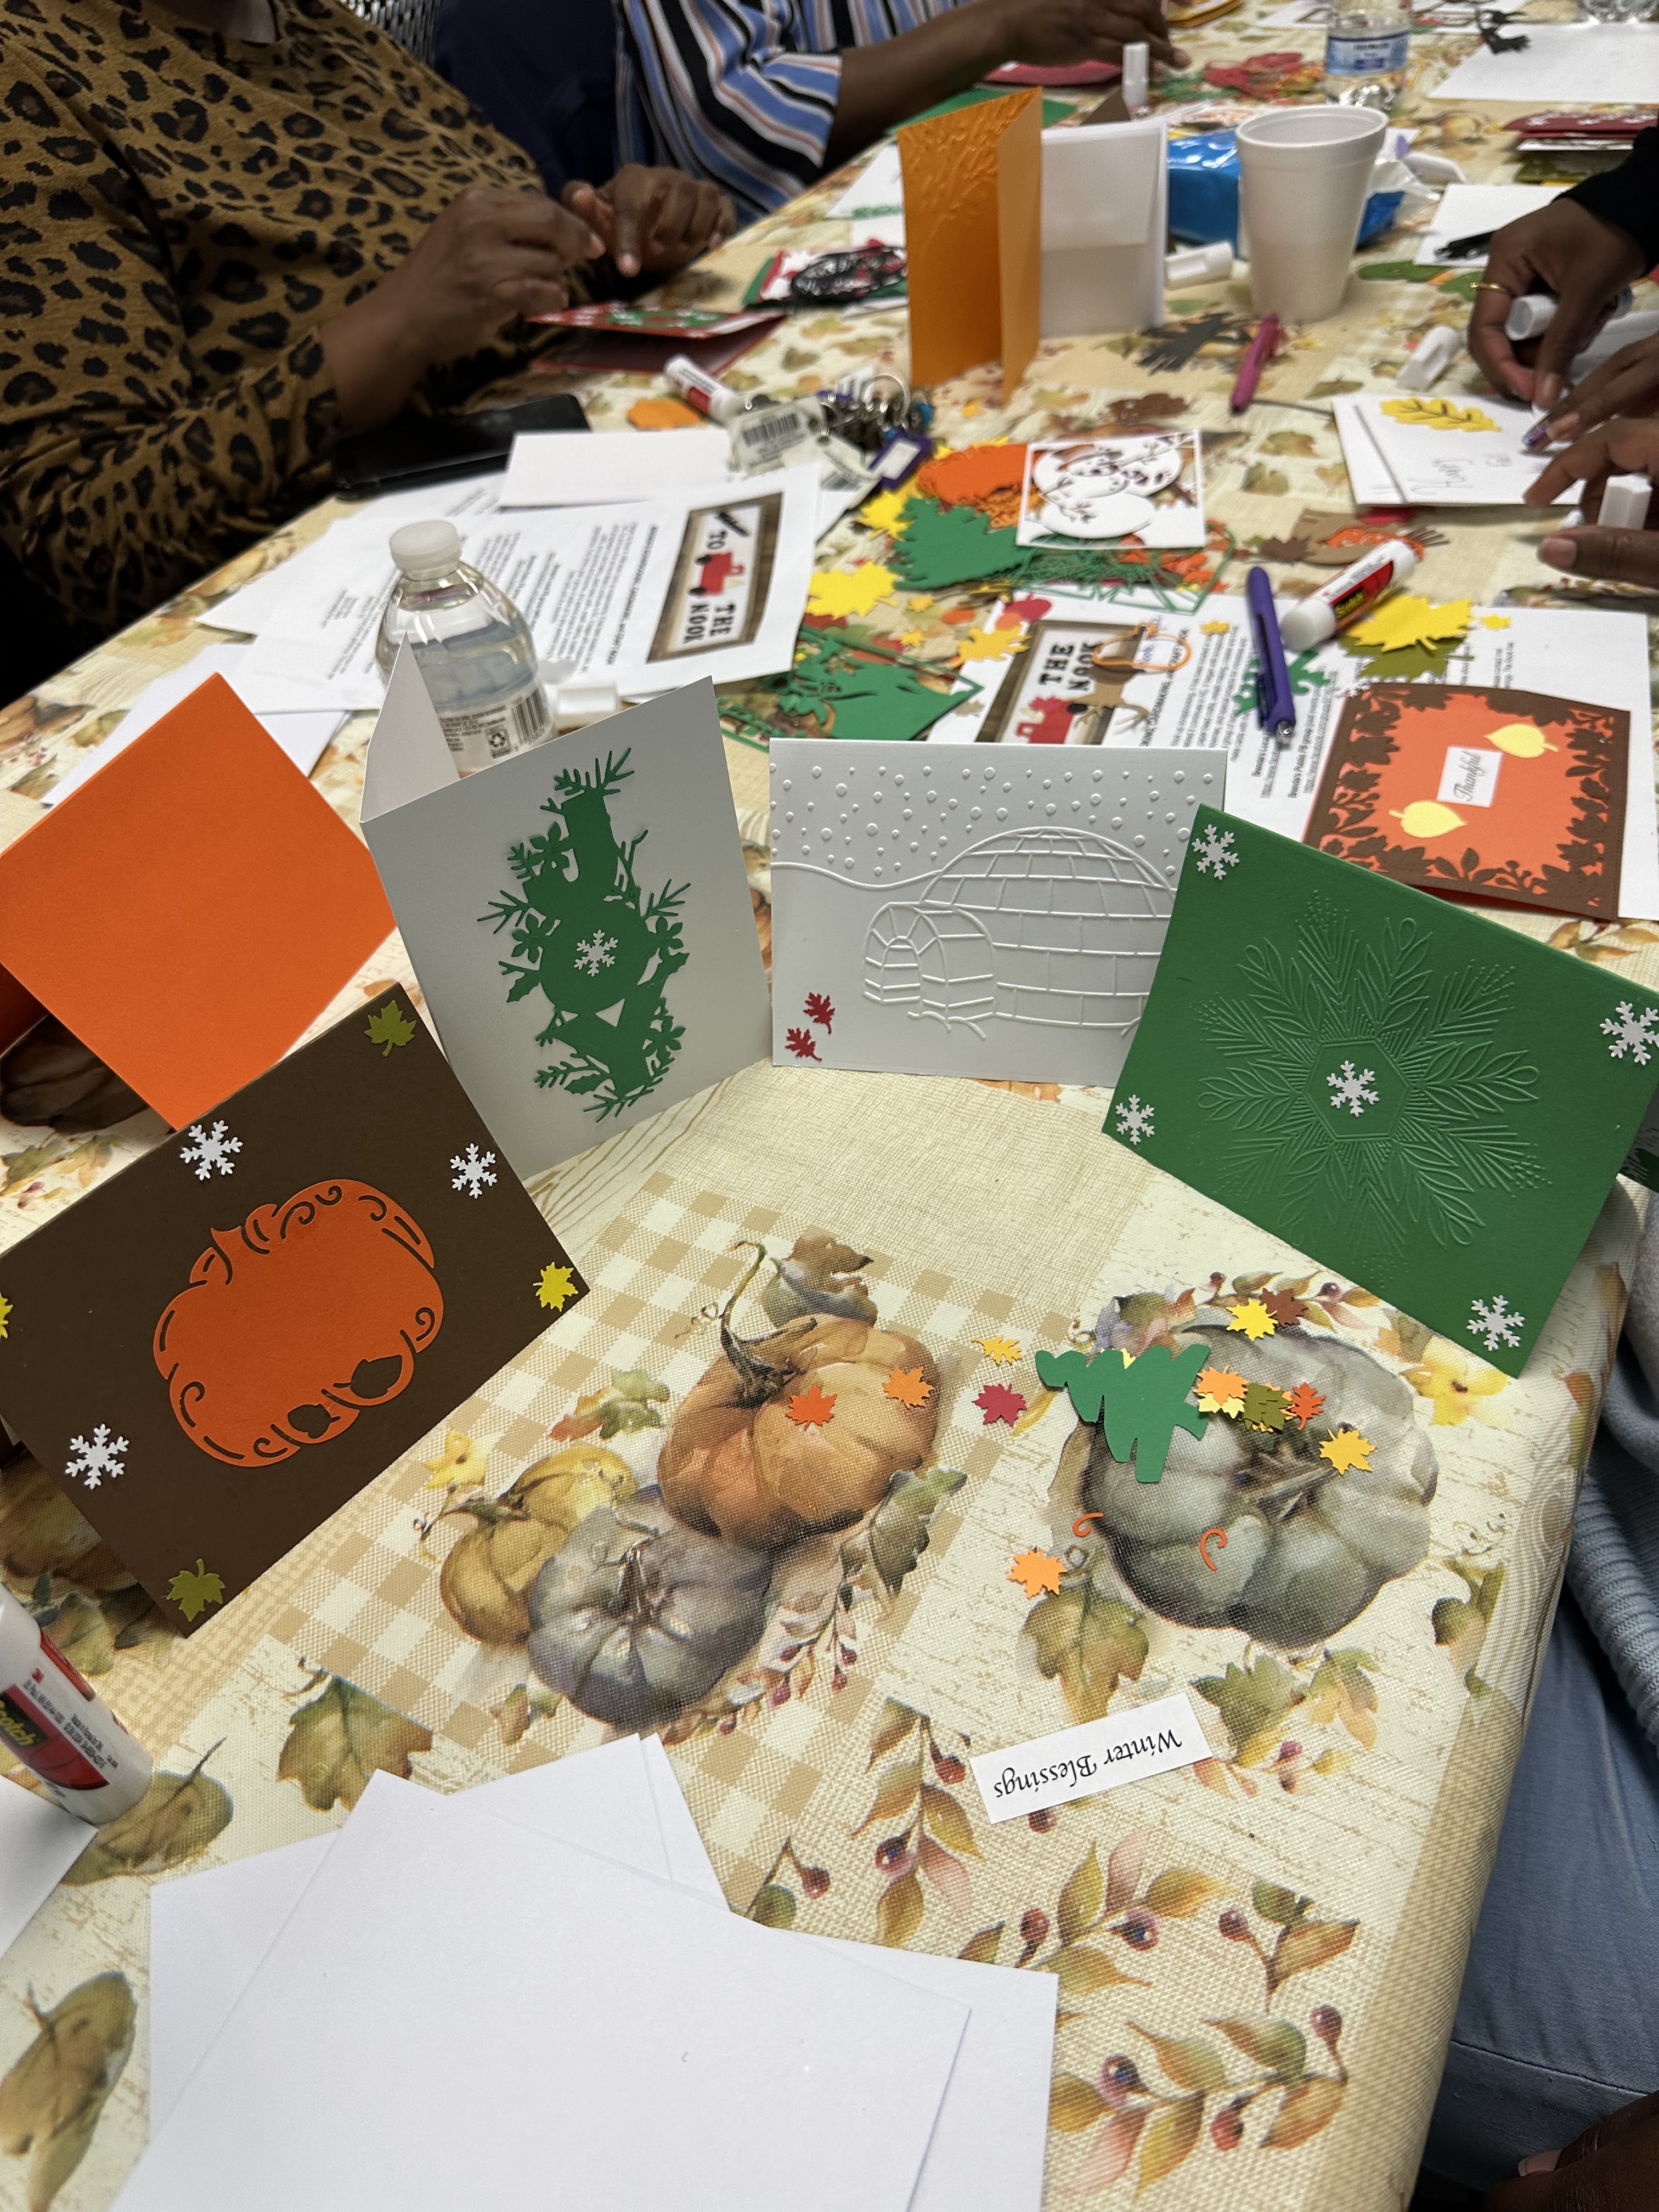
A favorite technique in the Nook is foiling, There are several tools and techniques!
My favorite is foiling with toner prints and Deco Foil.

One can purchase pre-printed toner images, but one of my favorite things to do is find black and white images on Pinterest (which I have saved to a Board there), take screenshots of them and create a word document to print on my toner (laser) printer. It must be a laser printer. This technique will NOT work on an inkjet printer.

Deco Foil is placed pretty side up on the image, placed in a carrier sheet and run through a laminator, Minc or Fuse machine.


More samples of toner prints with Deco Foil.


Another method with Deco Foil is to use Transfer Gel with stencils or coating die cuts with the gel, Ideally, the gel should dry 24 hours (removing the stencil carefully after applying the gel). After the stencil is dry, the Deco foil (or Fancy Foils) should be placed on the design pretty side up, placed in a carrier sheet and run through the laminator, Minc or Fuse.

There is another technique and that is hot foiling with a Go Press, or Glimmer machine and hot foil "stamp/dies". Deco Foil will NOT work with this method. The foil is special "hot foil" foil, such as pictured below. It is also manufactured by other companies, such as Coutour Creations.


Below are some cards created with the hot foil method.


Another way to create cards is with foil card stock and embossing folders.

In the card on the left, I cut the pieces out with foil cardstock. On the card on the right, I used an embossing folder with the foil card stock. Same for the photo below:

Other examples of dry embossed foil cardstock:

One can even emboss aluminum foil. I wrap the aluminum foil around a piece of card stock and run it through an embossing folder in a Cuttlebug or die cutting machine. Below is an example:

Finally, there is the Quill Foil pens that one can use in card making.

There are a plethora of You Tube tutorials on Foiling with the methods mentioned above. Some of my favorite tutorials are by Jennifer McGuire, Gina K, Stacey at Scrapbooking Made Simple and Nancy Stamp, among others. Check You Tube out for great information and demonstrations.
Your creations are guaranteed to be stunning!